October 30, 2013

Inspirational Notebook

Hello!!  This is Amy here today sharing an altered notebook that would be a wonderful gift for someone in your life or something that you may want to keep to write your own thoughts down in.

 I found a fat little notebook at a discount store.  I don't like the thin flimsy covers that they had on it, so I cut my own out of chipboard that measure the same sizes as the ones that I took off (this one measures 5 1/2 x 4 inches).  To remove the covers, I carefully unwound the coil on the side and then remove it.
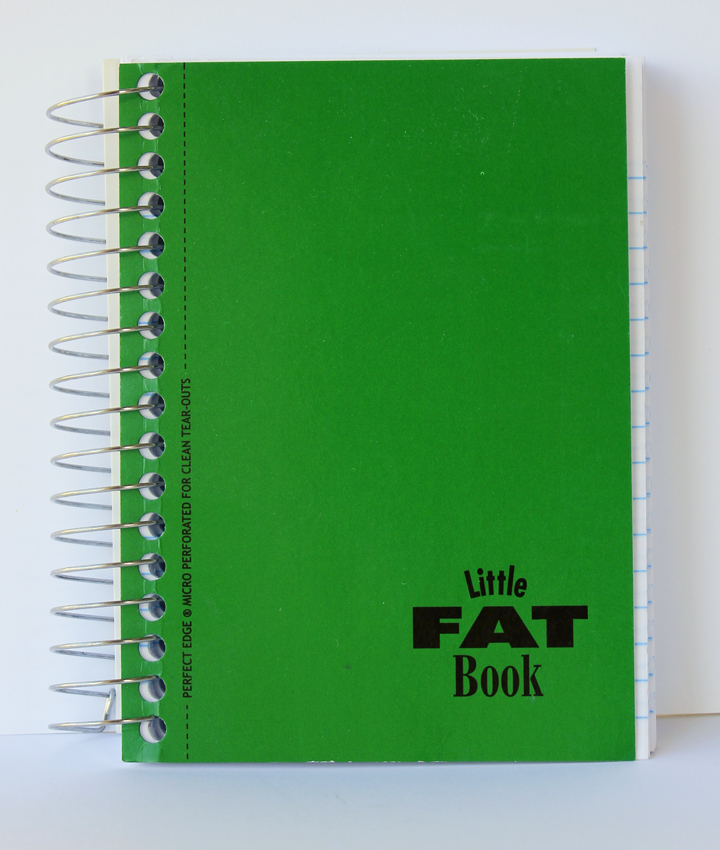
I use a pen and the cover I just removed as a guide for where I need to punch the new holes on the notebook.  I decorate the front of the notebook cover before I punched the holes (from the ones I traced on the back of the newly decorated cover) with a Crop-A-Dile. 

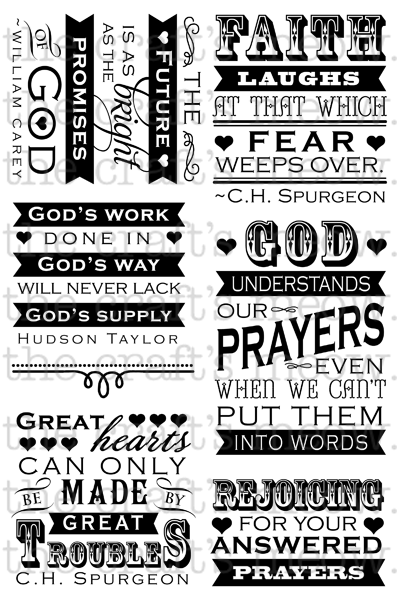
I put the notebook back together and then re-coil the spiral binding.  I added some embellishments on the front like the small chalkboard panel that I created with the Chalkboard Faith stamp set and some ribbon, pins and a wooden button.
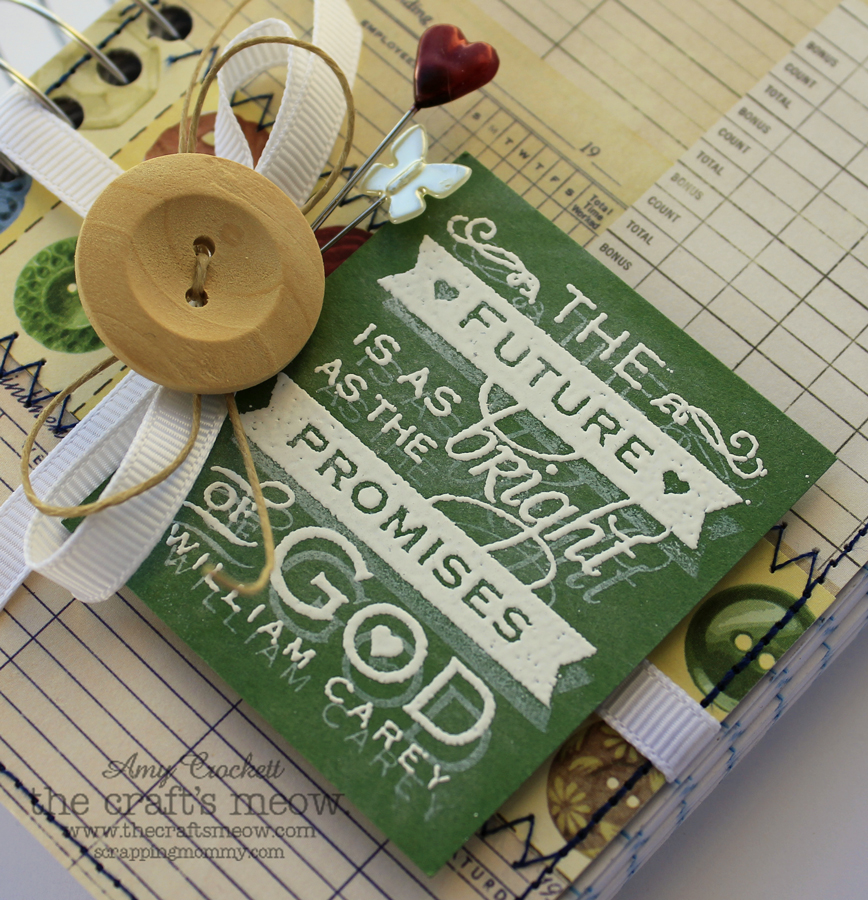
 Here is a look at the wonderful Chalkboard Faith stamp set:
I hope you have a blessed day!!

Hugs,
Amy

October 29, 2013

Halloween Tag and Christmas Tree

Hi TCM Friends!
It's Sharri here today to share a couple projects with you. 
My first project is a Halloween tag that I made to tie on a little bag of treats for my daughter. 


The image is from Fall Fibi and Lilly and is colored with copics - YR12, YR15, YR16, YR18/V22, V25, V28/Y11, Y13/T1, T2, T3, T4, T4.
The tag was cut with a die from my stash as was the grass behind the image. 
I used metallic vintage hemp cord to tie the tag to the treat bag and attach the button. 

 Here is a close up of the colored image. I added Glitter Glaze to the stars for dimension and sparkle.

My next project is a shape card made with Christmas Blessings which one of the newly released stamp sets. 

To create the Christmas tree shape for the card base, I used the largest of the Spellbinders Pennants die. 
Next I cut several scalloped borders using gold cardstock. I also cut out several lacy eyelet borders using pattern paper and then threaded green ribbon through the openings.
I adhered the borders to the pennant then trimmed the edges using the pennant as a guide. 
The star and angel were heat embossed with gold embossing powder.
The sentiment is also from Christmas Blessings


I finished off the card by adding little gold pearls to embellish the tree and sentiment.

Here is a closer look at the sets I used for my projects today -

Fall Fibi & Lilly


Christmas Blessings

Thank you for stopping by and enjoy your day!

Sharri

October 28, 2013

CAS Christmas Tags

Clare here today with some quick and easy CAS Christmas tags using Rustic Greetings and Christmas Lantern stamp sets.


Using some smooth Core Tags from Core'dinations I stamped the deer's head from Rustic Greetings using Memento Luxe Morocco ink, then I stamped a selection of sentiments from Christmas Lantern using the same color. The edges I inked with Distress Inks Antique Linen and Scattered Straw.


These tags would look fabulous with simple brown paper wrapped gifts, I love that rustic look. Here are the stamp sets I used on my tags. Thanks for visiting us today!


October 25, 2013

Golden Days

Hello!  Lin here today. Our fall is quickly changing now and I wanted to make one more autumn card before we get deep into Christmas and winter ones.


I used Karen Baker's beautiful set called Golden Days and stamped the larger leaves using distress inks.  Then I trimmed that panel down and embossed the D'vine swirls right over the top before framing it up and gluing it to my card base.  I made my sentiment from the same set into a banner, and then just added some enamel dots to finish.  

Here's the stamp set I used:  

Golden Days

Enjoy the rest of these golden days and have a great weekend!  

October 24, 2013

It's a Moxie Fab World!!!


We are sooooo proud to be featured today on the Moxie Fab World blog as Cath's Stamp of Approval!!! For a chance to win the five stamp sets shown on the Moxie Fab World blog, >Click Here< and leave a comment by midnight Eastern on Sunday, October 27th. We think you'll love the sets Cath picked out for the prize package. :) Thank you, Cath!

Before I go, I want to announce the winner of all FIVE stamp sets just released this past Monday here at The Craft's Meow. The winner was drawn from all comments left on our guest designer Kimberly Crawford's blog post, and that winner is...

 QUILT4FUN2!!!

Congratulations! Please email your mailing address to me at thecraftsmeow@gmail.com and I'll get your prize mailed right out to you. Enjoy!

Thank you again for your kind comments during our recent new release festivities. We really appreciate hearing from you, and we're grateful for your patronage! Stay tuned for more great inspiration from The Craft's Meow!